
Real estate photography has become an essential part of the home-buying process. In a world where potential buyers browse listings online, the first impression often comes from the photos. If your listing’s images don’t catch their attention immediately, they may move on to another property. Whether you are a real estate agent, homeowner, or photographer, understanding the best practices for capturing stunning real estate photos can help your listing stand out and attract more buyers. Here are key tips for taking remarkable real estate photos that will elevate your property listings.
1. Start with a Clean and Tidy Space
Before grabbing your camera, it’s crucial to ensure that the property is clean and clutter-free. Buyers want to envision themselves living in the space, and a cluttered room can make that difficult. Take the time to remove excess furniture, tidy up the countertops, and organize the space. Pay attention to details like making beds, straightening cushions, and hiding unnecessary items. You want the photos to showcase the property’s potential, not distract from it.
2. Use the Right Equipment
While smartphone cameras can produce decent photos, professional real estate photography often requires more advanced equipment to truly make a listing shine. A DSLR or mirrorless camera with a wide-angle lens is ideal for capturing a full view of a room. A wide-angle lens allows you to photograph small spaces effectively, making them look more spacious. Additionally, a tripod is essential to ensure steady shots, especially in low-light conditions.
Investing in equipment like a drone can also be beneficial for capturing aerial shots of the property, which can give potential buyers a better sense of the location and surrounding environment.
3. Understand the Importance of Lighting
Lighting is one of the most critical aspects of real estate photography. Natural light helps make spaces look warm, inviting, and well-lit. Shoot during the daytime when the sunlight is abundant. Aim to photograph the property when the light is soft, such as early morning or late afternoon, to avoid harsh shadows and overexposed windows.
Open all blinds and curtains to allow as much light in as possible. If certain areas are too dark, consider using artificial lights to brighten them. However, avoid using flash on your camera as it can create unflattering shadows and make rooms appear smaller than they are. Instead, use external lighting equipment or adjust the camera settings to account for lower light conditions.
4. Composition is Key
Composition refers to how elements in the photo are arranged within the frame. For real estate photography, proper composition can make all the difference in creating visually appealing images. Use the “rule of thirds,” which divides the frame into a 3×3 grid, and place important elements along the grid lines or intersections. This technique helps to create balance and make the photo more dynamic.
When photographing a room, try to showcase as much of the space as possible. For smaller rooms, aim to shoot from a corner to capture two walls at once, which helps create the illusion of more space. Avoid taking photos of the space with too much empty floor or ceiling. The focus should be on the size, layout, and features of the room.
5. Shoot from Multiple Angles
To provide a complete view of the property, shoot rooms from multiple angles. This gives potential buyers a better sense of the layout and flow of the space. For example, take wide shots that showcase the entire room, then zoom in on specific features such as a fireplace, built-in shelves, or unique architectural details. By offering different perspectives, you can highlight the property’s strengths and provide a well-rounded view of the space.
6. Stage the Property
Staging a property before shooting can dramatically improve the way a listing looks in photos. This doesn’t necessarily mean hiring an expensive professional stager, but making sure each room is arranged in a way that looks appealing and functional. For example, use neutral-colored furniture, tasteful decor, and attractive yet simple accessories like fresh flowers or a bowl of fruit.
Staging allows you to highlight the property’s best features while creating a welcoming and comfortable environment. You want the space to look livable without overwhelming potential buyers with too much decoration.
7. Make Use of Editing Software
While it’s important to get the best shot possible in-camera, post-processing is an essential part of real estate photography. After the shoot, use editing software like Adobe Lightroom or Photoshop to enhance the images. Adjust the brightness, contrast, and white balance to make the images more visually appealing.
However, be careful not to over-edit. Over-saturating the colors or using extreme filters can make the images look unrealistic and misleading. The goal is to improve the photo without changing the actual appearance of the space.
8. Capture the Exterior
While interior shots are critical, exterior photos are just as important. The outside of a property is often the first thing potential buyers see online, and it plays a crucial role in their first impression. Capture wide shots of the front and back of the house, ensuring that the photos highlight the property’s curb appeal. Pay attention to landscaping, as neat lawns and well-maintained gardens add to the property’s appeal.
If possible, take exterior photos at different times of the day. Evening shots during the golden hour or twilight can create a warm and inviting atmosphere, while daytime photos show the property in its best light.
9. Highlight Special Features
Every home has unique features that set it apart from others. Whether it’s a gourmet kitchen, a spacious master suite, or an outdoor entertainment area, these features should be highlighted in your photography. Make sure to focus on elements that make the property stand out, such as built-in appliances, custom cabinetry, or a fireplace.
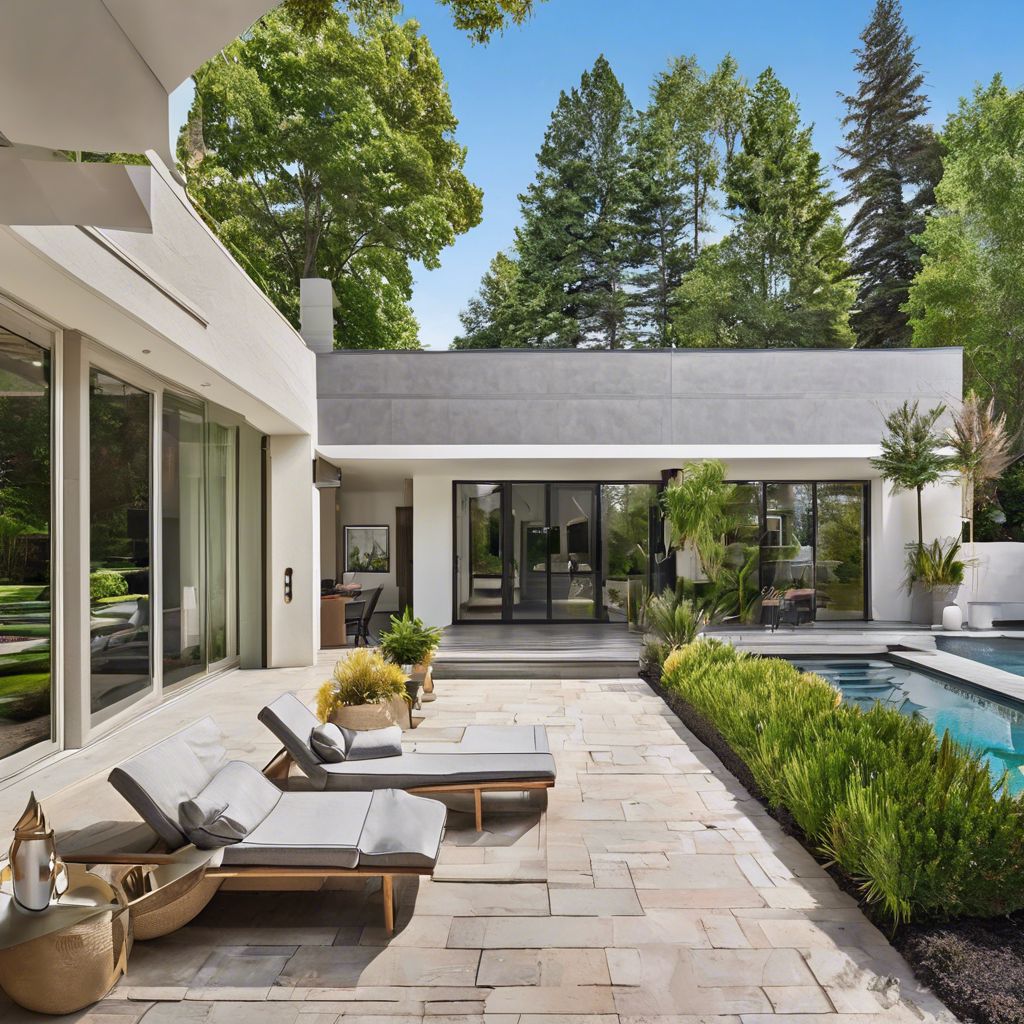
If the home has a pool, backyard, or other outdoor amenities, be sure to capture those spaces. Outdoor areas can be just as important to buyers as indoor spaces, and beautiful photos of patios, decks, or pools can help sell a property faster.
10. Use Virtual Tours and 360-Degree Photography
With the rise of digital technology, virtual tours and 360-degree photography have become powerful tools in real estate listings. These technologies allow potential buyers to explore a property from the comfort of their own home. Virtual tours offer an interactive experience that gives buyers a real sense of the space, while 360-degree photos provide a comprehensive view of each room.
Including these types of images in your listing can set you apart from other properties and make your listing more appealing to tech-savvy buyers. Many real estate websites, such as Zillow and Realtor.com, allow listings with virtual tours, so be sure to take advantage of this feature if possible.
11. Consider Drone Photography
Drone photography can be a game-changer for large properties or those with unique surroundings. Aerial shots taken by a drone provide a completely different perspective and can help buyers visualize the property in relation to the neighborhood. Whether it’s a sprawling estate, a home with a large yard, or a property with stunning views, drone shots can show off the property’s best features in a way that traditional photos cannot.
Drone photography also helps capture the surrounding landscape, which can be especially important for properties in scenic areas or near bodies of water. However, be mindful of local regulations when using a drone and ensure you have the proper permissions before taking aerial shots.
12. Consistency Across Listings
When showcasing multiple properties, it’s important to maintain consistency in your photography. Buyers are used to seeing listings that follow a similar visual style, and this creates a sense of professionalism. Whether you’re taking photos for a single listing or multiple properties, try to maintain consistent lighting, composition, and editing style.
This consistency not only ensures that each listing looks polished, but it also builds your reputation as a photographer or agent who knows how to showcase a property to its fullest potential. Consistency is key to building a brand, whether you’re an independent photographer or part of a real estate team.
13. Understand the Market
Every market has its own nuances, and understanding the preferences of potential buyers in your area is essential. For example, in a luxury market, buyers may be looking for high-end finishes, expansive views, or unique architectural features, which should be emphasized in your photos. In contrast, first-time homebuyers may be more interested in affordability, space, and practicality, so your images should highlight these aspects.
By tailoring your photography to the local market, you can make your listings more appealing to the specific audience you want to attract.
14. Mobile-Friendly Images
Since a large number of buyers browse listings on their mobile devices, it’s essential that your images are optimized for mobile viewing. Ensure that the resolution is high enough to look clear on smaller screens, but not so large that it slows down the loading time. Listing photos that are slow to load or difficult to view on a phone can deter potential buyers from exploring the property further.
15. Final Thoughts
The role of real estate photography is far more important than simply taking a few pictures of a property. It’s about creating a visual story that allows potential buyers to imagine themselves living in the space. By following these tips, you can capture beautiful, professional-quality images that will make your listings stand out from the competition. Remember, first impressions matter, and when it comes to real estate, the right photo can make all the difference in attracting the perfect buyer.